O-12-930 Emergency Plan Cross-Reference Tipsheet
🎯 Purpose
Identifies the corresponding areas within PointCare and Admission Paperwork where the Client's Emergency Plan is captured. Intended to be used as a tool to ensure that the documentation in the medical record coincides with the plan in the Client Calendar/Individualized Plan of Care.
🔄 Process
The Emergency Plan is documented in the following locations:
- Start of Care (SOC) Assessment (PointCare)
- Emergency Plan/Responsible Party Form (Admission Packet – Electronic Form via Mosai)
- Client Calendar/Individualized Plan of Care (Admission Packet – Paper Form)
Emergency Plan/Responsible Party:
Completed electronically by SOC clinician via Mosai Mobile Application. After completion, this form is mailed out to client’s home following receipt and review in the office.
-
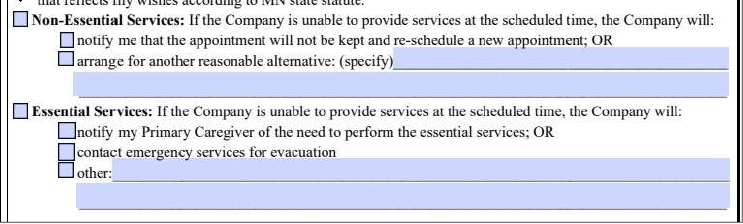
Designation of Essential vs Non-Essential Services:

-
Emergency Contact/Responsible Party/Primary Caregiver Information:


Client Calendar/Individualized Plan of Care:
Paper copy filled out and left in client’s home chart at the time of the SOC so it is immediately available following the SOC assessment.
-
Disaster Risk, Individualized Client Emergency Preparedness Plan, Plan of Action


-
Vendor Contact Information:


SOC Assessment (PointCare):
Clinician will document assessment findings and establish the Emergency Preparedness plan within their SOC Assessment. Following a SOC, it can subsequently be updated in the back office as needed as well.
Designation of Essential vs Non Essential, Disaster Risk, Individualized Emergency Preparedness Plan/Plan of Action:
-
In SOC Assessment, go to Visit Actions → Demographics (this is a required field on the SOC):


-
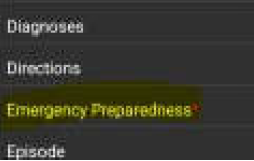
Select Emergency Preparedness:
-
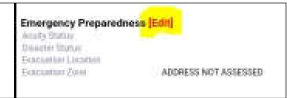
Select Edit:
-
Enter an Evacuation Location:

-
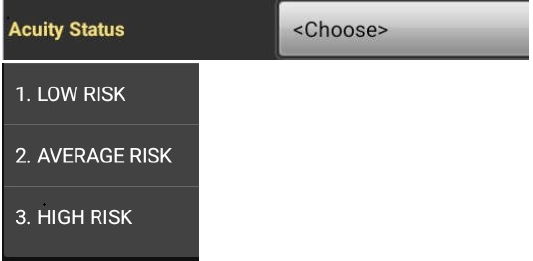
Select Acuity Status and choose from Low, Average, High Risk:
-
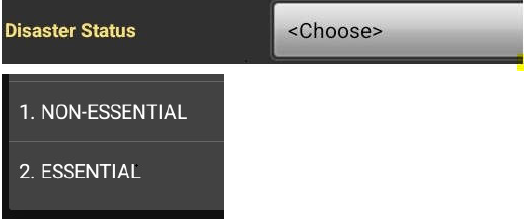
Select Disaster Risk and choose from Essential vs Non Essential:


Emergency Contact/Responsible Party/Primary Caregiver Information/Other Contacts (ie. Vendors):
-
In Visit Actions → Demographics, select Contacts:
-
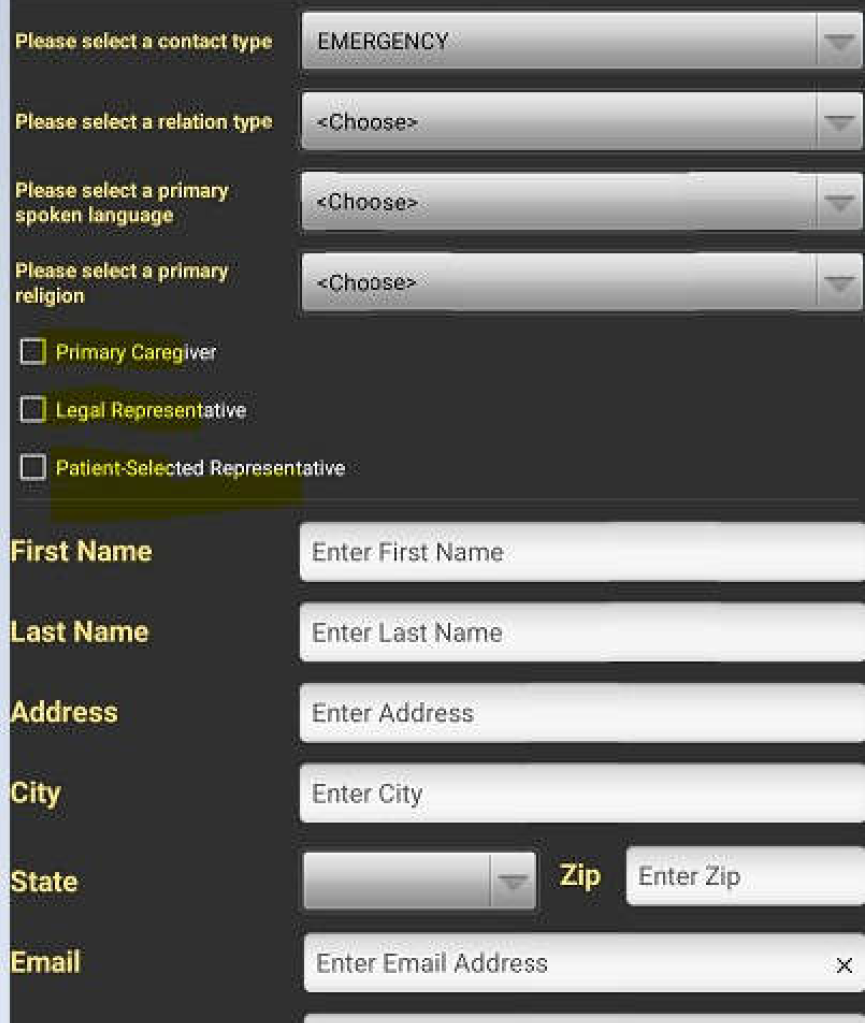
Select Edit to Add New or Edit existing contact information:

-
Select Add to add new:

-
Select


📅 Effective: 05/07/2024 | ✅ Approved by: AM